
 |
| Johnny's little bird clock, he LOVES that clock, it chirps a different bird every hour..... He has a few birdhouses outside on the deck and a hummingbird feeder too. He loves birdwatching! |
Anyway, making a cornice is super easy. All you need is a piece of plywood, cut to the length and width you think you need. Then a few side pieces cut to the depth out from the window you want the fabric cornice to hang. Then get some fabric you like, upholstery fabric remnants are really good, that's what I found for $4.00 a yard at an upholstery fabric store. There is one in draper on 124th just West of the 15 Freeway in Draper. Find the link HERE They have sales about once a month and put all their extra stuff in big barrels around the store. They also have cornices all done up with cool decorative medallions and swags all around the top walls of the shop. You can order one from them, already made up in your choice of fabric, or you can get ideas and ask questions from them. They were very helpful over there, even though I always planned to do it myself.
(being the do it yourselfer than I am...hehe)
 |
| This is the fabric window cornice over the sink. I liked how the wood blinds look, but they sure don't let in bright light...I definitely need more lighting... |
I didn't do a real pretty job, it is kind of messy in back but it won't show, it will face the window. I tried to tuck the raw edge under before the final staples just to be a little neater with it. Then I had to do 2 end pieces the width of the cornice but we measured how far out from the wall we wanted to build it before we cut the length. I think it was like 5 inches from the wall. Then I did the same thing to those 2 pieces, batting and fabric, staple it all down.
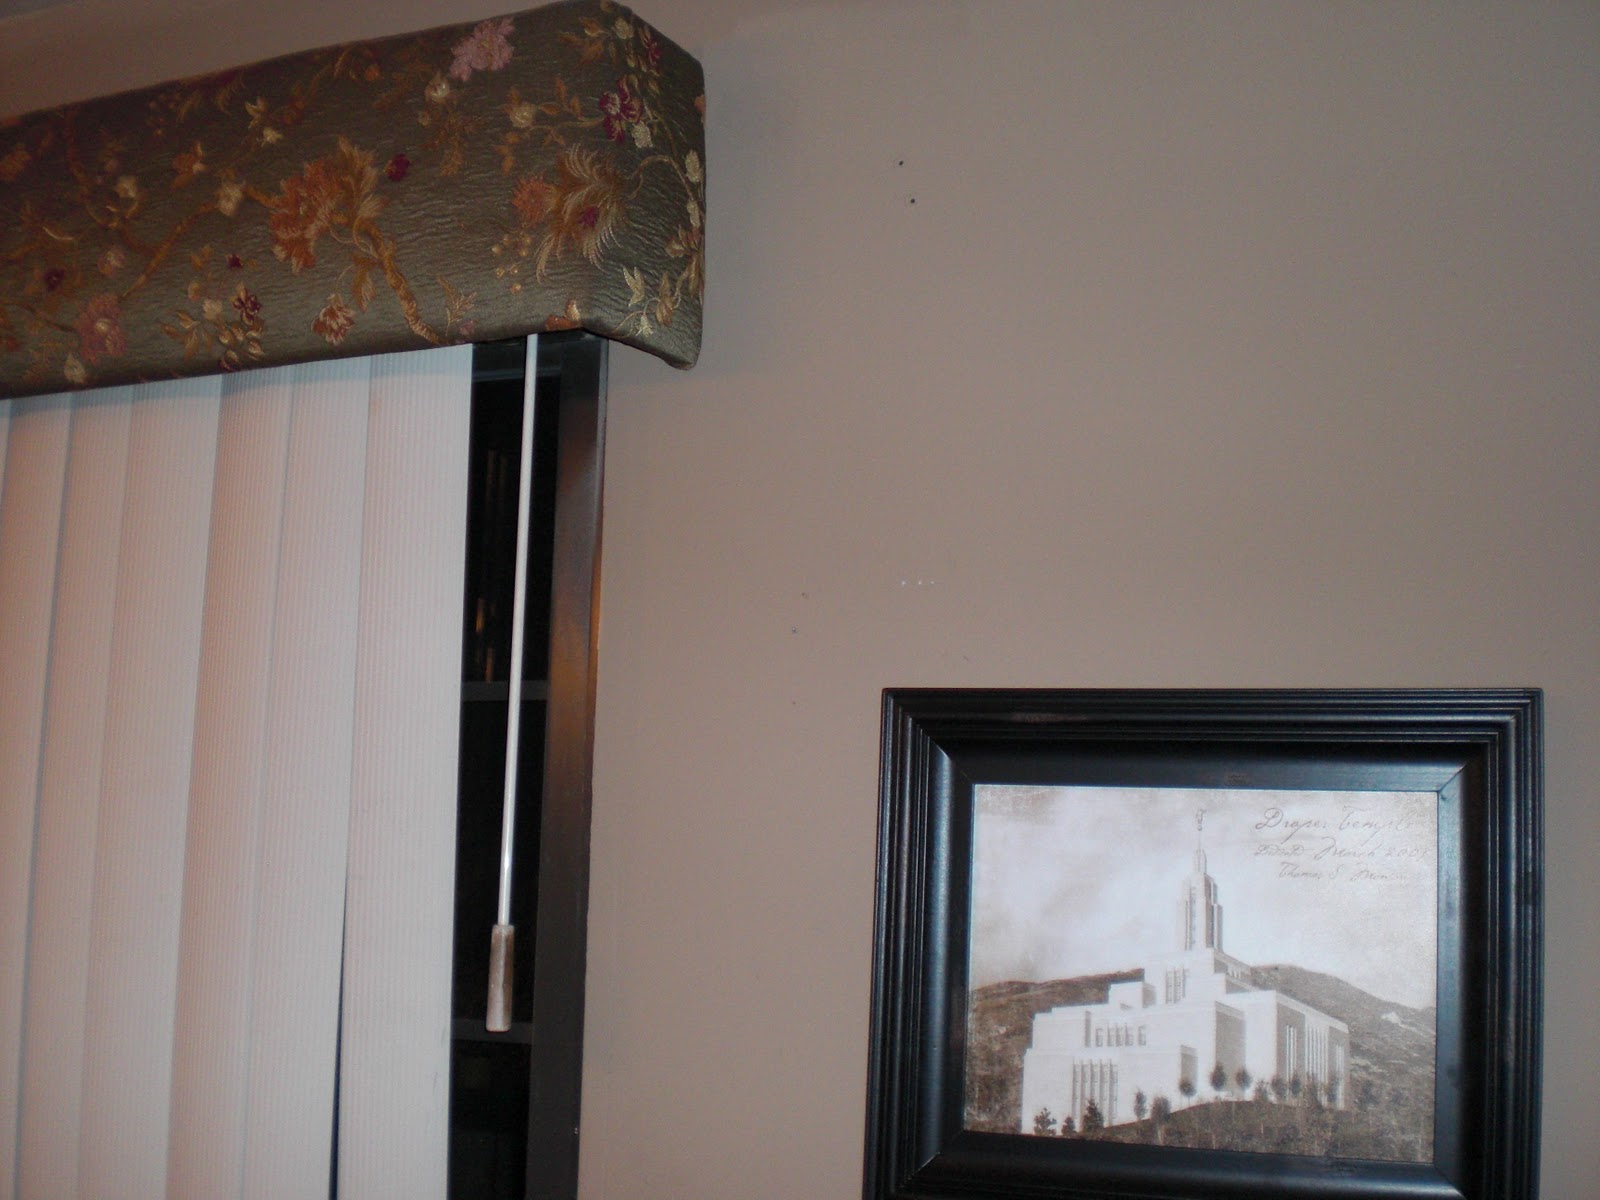
On this window below we tried it a different way. We attached the side pieces of wood first, and then covered the whole curvy piece with fabric and batting all at the same time, and then staple gunned it down to the wood. It was definitely easier the 2nd way. But both ways LOOK pretty good. (we learn as we go...)
 |
| New sliding glass door cornice |
I love the fabric window cornices. They look very rich and tapestry like, and they look kinda custom. If we had been more talented we would have tried a curvy shape on the bottom, but we just went with simplicity. It is not too late to add a swag or medalion to the sides. You can get books on cornices in the city libraries. I've seen them there and maybe someday I'll mess with them and add something to the top or sides. For now, it is finished! 3 cheers!
 |
| The fabric window cornice is kind of a shiny brocade in a sage green with rust and pumpkin |
The next thing we did was our guestroom. The craftroom is still a work in progress I'm not progressing very much lately though... (such a slacker!)but I must just give myself a break on it. I work with 1st graders all day, and those little guys wear me out sometimes! I'll show how I did the guestroom next. It is very pretty. Watch for a birdie theme....I'm a birdhouse collector...

No comments:
Post a Comment
It is so COOL that you are Commenting!